


BELL HELMET SIZING CHART
STEP-BY-STEP RACING & KARTING HELMET SIZING GUIDE
Measuring your head accurately is the first step towards finding the perfect helmet. Here, we provide a step-by-step guide to help you measure your helmet size effectively.

Accurate Head Measurement Techniques
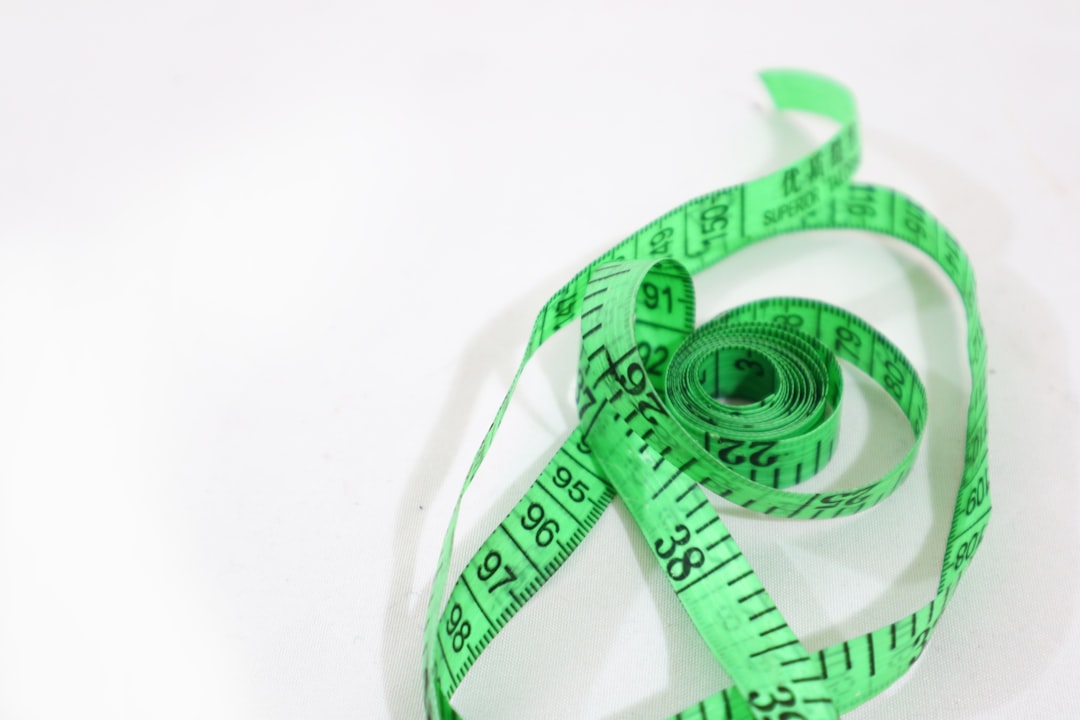
- Use a flexible tape measure: Wrap it around your head approximately one inch above your eyebrows and ears, reaching the widest part of your head at the back.
- Ensure even pressure: The tape should be snug but not tight, ensuring accurate measurement without compressing your scalp.
- Take multiple readings: Measure at least three times to ensure consistency, using the largest measurement for determining your size.
- Consider additional wear: If you wear accessories like a balaclava or head sock, ensure you wear them during measurement for an accurate fit.
These steps ensure you accurately measure your head, providing a reliable starting point for helmet selection.
Tools for Measuring Helmet Size
-
Accurate measurement tools are essential for determining the correct helmet size. Flexible tape measures are ideal due to their ability to wrap smoothly around the head's contours.
- Alternatively, a piece of string can be used in place of a tape measure by marking and measuring against a ruler afterward. This method is particularly useful if a flexible tape measure is not available.
-
Digital calipers can provide highly accurate measurements and are used by professionals for precise fitting.
- Ultimately, the choice of tools depends on personal preference and availability. However, ensuring accuracy is paramount in every method to achieve a proper fit.
⚠️ IMPORTANT: Never order your helmet based on your last helmet size—especially if it’s a different brand. Helmet sizing can vary. Always remeasure your head before buying.

BELL - Helmet Care & Maintenance
Essential Racing and Karting Helmet Care Tips
Your helmet is more than just equipment—it's your head's protector, and it's a part of your personality and branding throughout your racing career. With proper care, you can ensure its longevity and peak performance. Discover essential racing and karting helmet care tips below that guarantee your safety and style remain uncompromised.
The exterior of your racing helmet serves as its first line of defense. Here's how to maintain its pristine appearance and protect its integrity:

EXTERIOR CARE
-
Handle Gently: After sessions, place your helmet vertically on a stable surface to let it dry. Avoid knocks, drops, or placing it upside down on seats or other surfaces—karting drivers, you know what I'm talking about! Always carry it in a proper helmet bag.
-
Air Dry: Allow your helmet to air dry completely after each use.
-
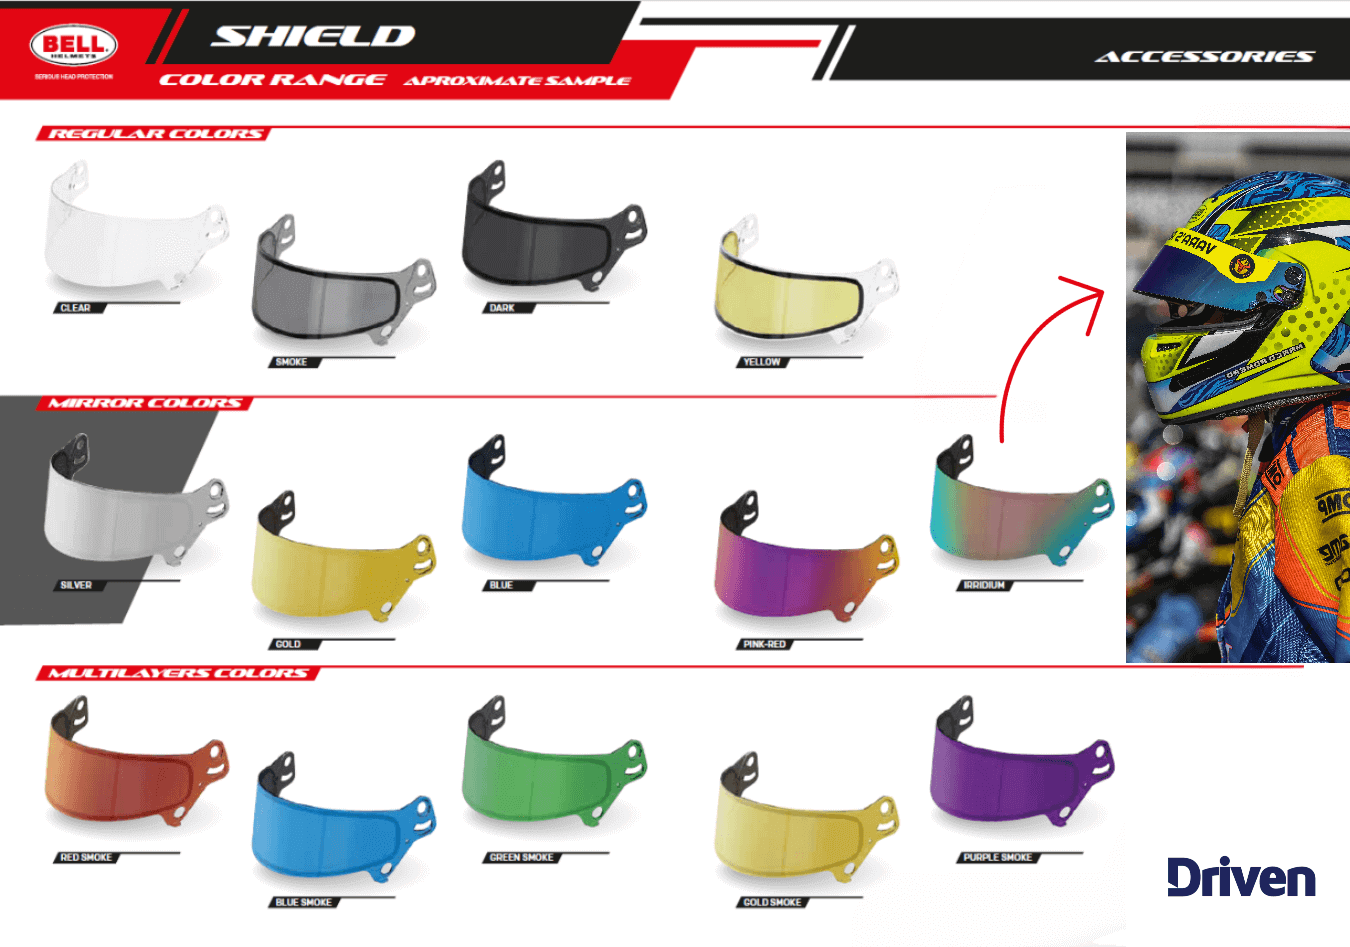
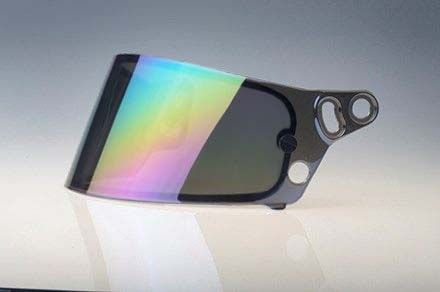
Be Shield Smart: Clean the visor with a designated clean microfiber cloth and water to prevent scratches.
-
After Weekend Care: At the end of the weekend, let your helmet dry completely before placing it in the bag until the next race. If possible, give it a thorough cleaning with a microfiber cloth and water.
-
Use Helmet-Purposed Cleaners: Invest in high-quality cleaners specifically designed for helmets, like Molecule or the BELL helmet care line. Avoid harsh household chemicals or solvents; if necessary, use mild dish detergent like Dawn, Meyer’s, or Palmolive.

INTERIOR CARE
A clean interior ensures a comfortable, non-smelly ride. Follow these steps for proper helmet cleaning:
-
Moisture-Wicking Gear: Consider wearing a balaclava to manage sweat and prolong interior freshness, keeping oils in the balaclava. Wash the balaclava daily!
-
Mild Cleaning Agents: Hand wash fit pads and lining using mild soap and a soft cloth.
-
Air Dry: Allow your helmet to air dry completely after cleaning.
-
Keep It Fresh: Use helmet-safe deodorizers to maintain a pleasant smell.

ON-TRACK CARE
Proper care after every session is crucial for maintaining your helmet's integrity and performance. Follow these steps to ensure your helmet stays in top condition:
-
Post-Session Drying: Always dry your helmet after each session. Place it on a stable rack where it can air out effectively.
-
Stability and Safety: Ensure the helmet rests on a stable surface where it won’t be knocked over or damaged. Proper placement helps maintain its shape and structure, preventing unforeseen damage from falls or collisions.
TRAVELING HELMET
Transporting your helmet securely during air travel is vital to prevent damage or loss. Keep these tips in mind:
-
Carry-On: Never check your helmet as luggage. Always carry it with you in the cabin to ensure it reaches your destination.
-
Avoid Damage: Keeping it with you protects the helmet from being mishandled or damaged by luggage handlers. Checked baggage can often be thrown around, risking damage to the helmet.
-
Be Prepared: Arriving at your race destination without your helmet can result in scrambling for a last-minute replacement, which isn’t ideal for performance or safety. Ensure it’s safely with you at all times.
STORAGE TIPS
Proper storage extends your helmet's lifespan. Here's how to protect it when not in use:
-
Cool, Dry Place: Store it away from sunlight and extreme temperatures.
-
Helmet Bag: Use a padded helmet bag for extra protection.
-
Avoid Wall Hooks: Hanging on mirrors or hooks can damage interior padding unless the helmet is only for exhibition, "retired."
Even with meticulous care, racing helmets have a lifespan. Most experts, including Bell, advise replacement every five years or when:
-
There's an accident involving helmet contact with another kart, internal car parts, or the track.
-
Cracks appear in the shell, or there is visible damage.
-
The interior padding is loose or compressed.
-
There is strap wear or cuts.
-
Updated safety certifications are available; always check the SNELL, FIA, or SFI specs validity.
If in doubt, consult your manufacturer or racing organization for advice.
ASSISTANCE
Have questions about racing safety equipment or are you looking for helmets for auto racing and karting? Contact us for expert advice and explore our premium range of Bell and B2 Helmets for your karting and racing needs!
By following this guide on racing helmet care guide, you ensure that your helmet, your trusted racing companion—remains in top shape. Hit the track with confidence, knowing your safety gear is as passionate about racing as you are!
TAKE CARE OF YOUR LID!
EXTRA INFORMATION